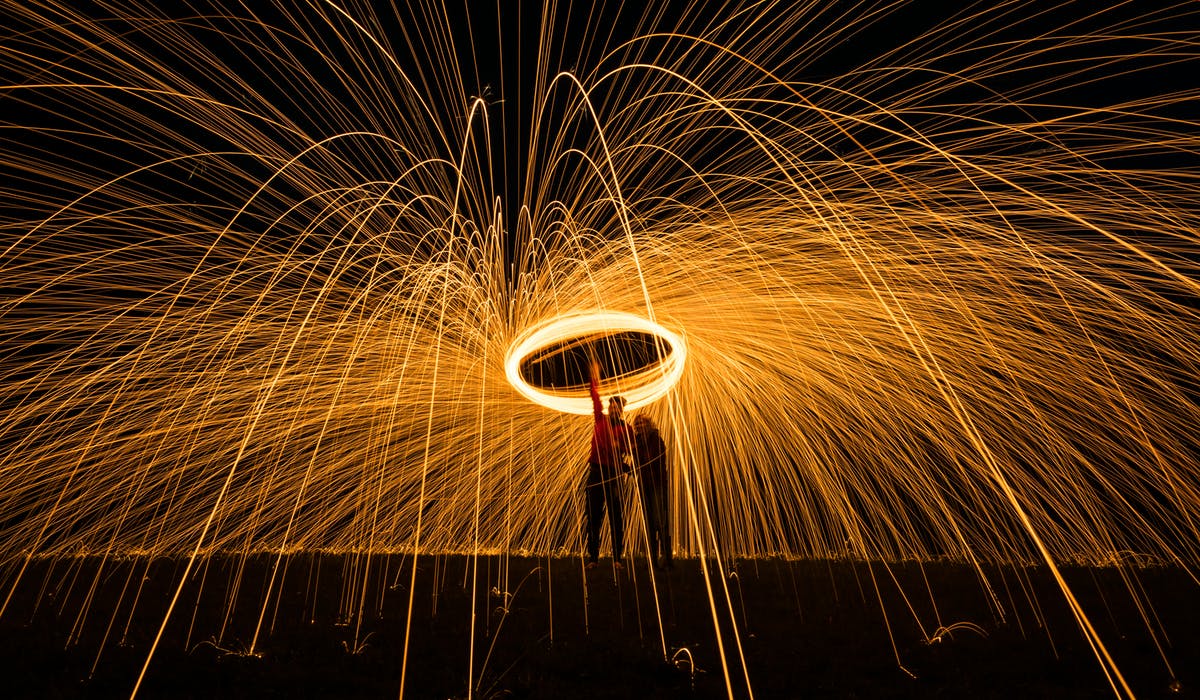
Light Painting
The “Light Painting”, as the name already says, is a particular photographic technique that consists in coloring dark scenarios with light to create real luminous drawings using the long exposure. It is a technique that everyone likes a little, both experts and those who are recently approaching the world of photography and who find “light painting” simple but still a source of great satisfaction right from the start.
Camera settings for Light Painting
What I’m going to give you are 4 recommended settings for making shots in Light Painting format. I told you about the simplicity of this technique: one of the reasons for its simplicity is that the technique itself has been somewhat standardized over the years. Those who want to use it therefore simply have to follow established rules of settings to be almost certain of obtaining the desired photographic result. The first tip for Light Painting is to set the mode to manual or bulb and have a shutter speed of at least 30 seconds (some even use 2 minutes). Secondly, set a focal aperture between 8 and 10 and stop your ISO at 100.

Focus
It is important to focus the image before starting to paint with light, but it can be difficult in the dark. This is where the manual focus setting comes in handy. If you have the option to turn on a ceiling light, you can do so to focus the camera. But if you don’t have a light from above, like you’re shooting outdoors, you can just point a light source at a part of the scene that you know needs to be in focus.
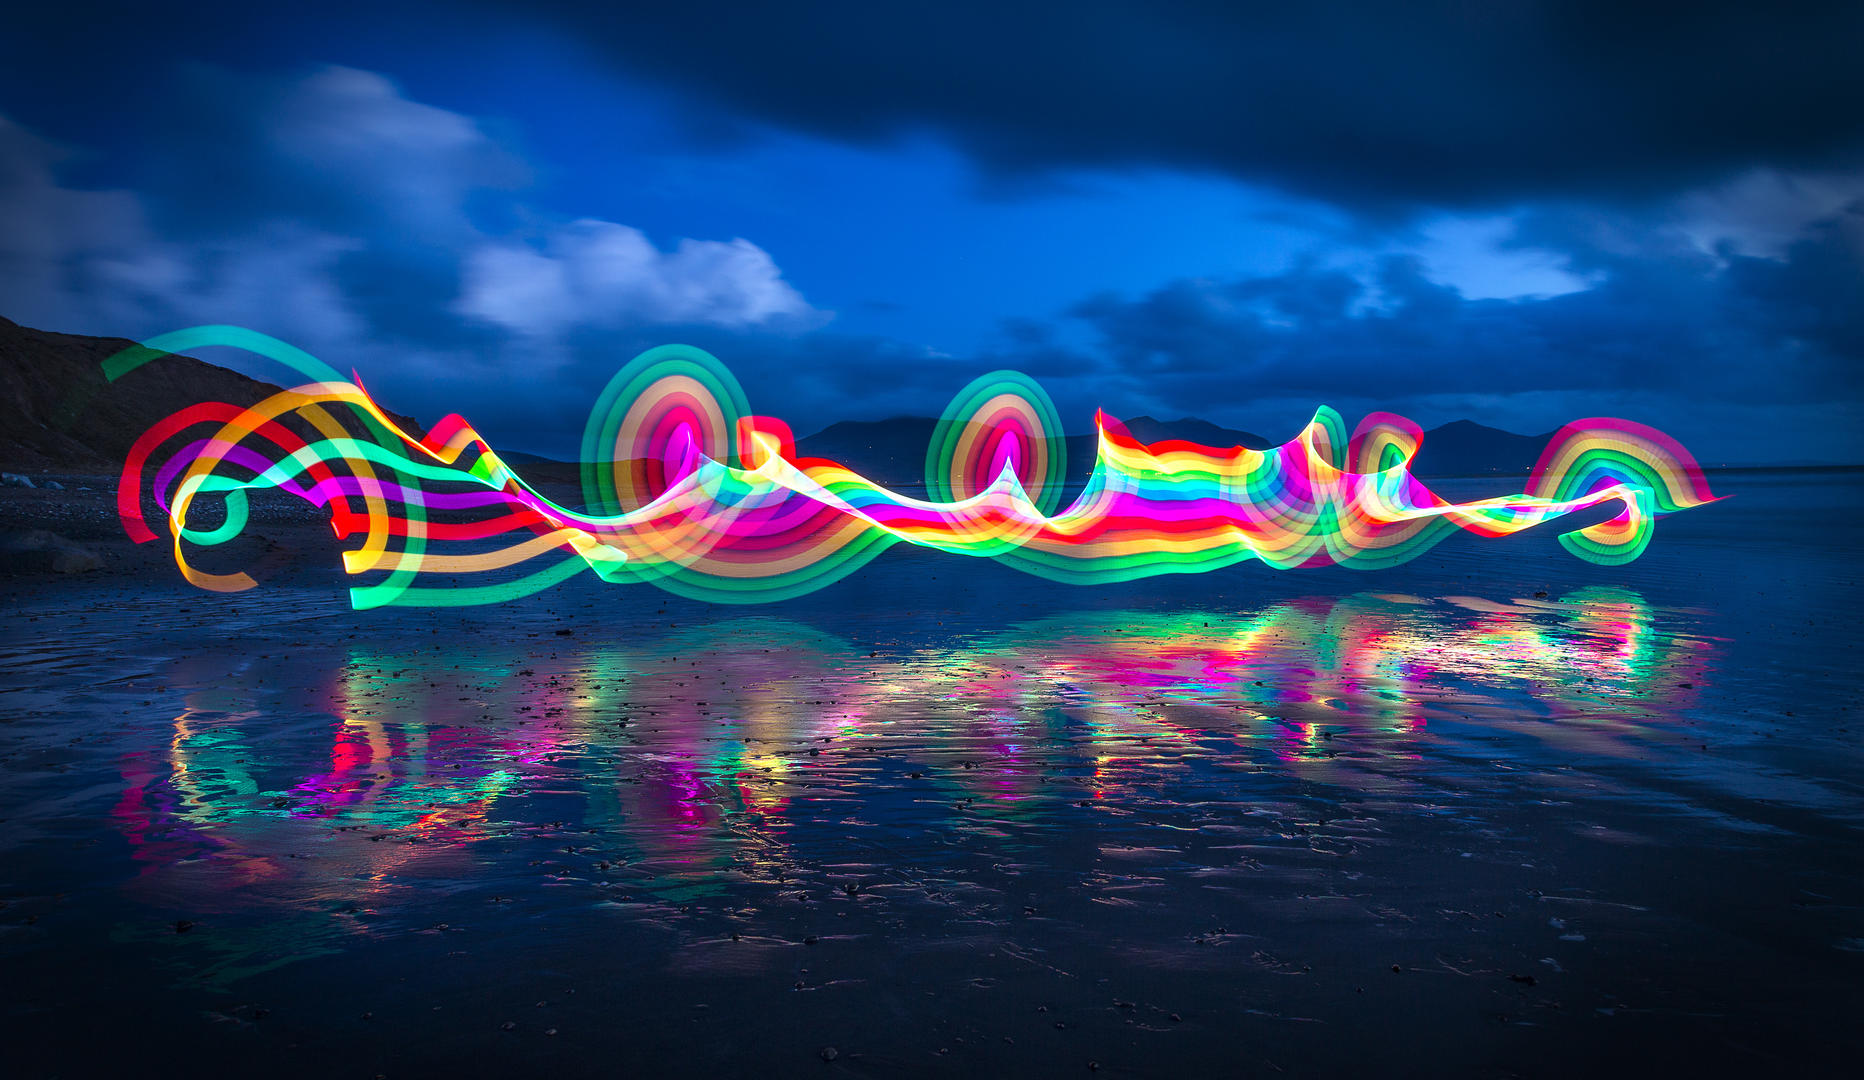
Painting tools
Now that you have set up the camera you are wondering: ok all very nice but how can I draw the light effects typical of Light Painting? Well there are different types of lights that can be used: flashlights, torches, lasers, light sticks, flashes, cell phones and even candles. In general, anything that can produce light can be used. Color gels can be used to alter the tint of your light. Alternatively, if you do not have a gel, you can simply (when possible) cover your light source with a cloth of the color you prefer to achieve the chromatic effect you are looking for.
4 latest tips for Light Painting
Before closing this post, I want to leave you 4 excellent tips which, based on my experience, will be very useful in optimizing the visual performance of your light painting.
1) Make sure the area you are framing is completely dark. When you paint with light, any light source present for the entire exposure will almost certainly burn out and cause annoying bright areas in the image.
2) keep the light source away from the camera to avoid it being visible in the final image
3) Never place your body between the light and the camera to avoid unwanted silhouette effects
4) If you set exposure times longer than 2 minutes you could
