
How to photograph landscapes
How to photograph landscapes? Landscapes are a great classic of photography and, honestly, I don’t know a single person in the world who, with a reflex camera or a smartphone, has never taken a landscape photo, perhaps in memory of a holiday or a new corner of his city just discovered.
But like all great classics, apparently within everyone’s reach precisely by definition, landscapes also lend themselves to frequent errors of interpretation, preparation and execution of photography by the artist.
In this and in a subsequent post with I will try to describe, always referring to my experience, some improvement techniques and some mistakes to avoid when deciding to photograph a landscape.
1) PREPARE THE LANDSCAPE
The title of this paragraph is deliberately ambiguous. Why, in fact, could we modify a landscape? Yet I tell you that yes it is possible, even if not in the material sense of the term. First, one way to prepare your photo for the landscape is to do a Google Image search to find other photos in the same place you are.
There is nothing wrong with finding inspiration in what others have done. Sometimes we learn positively (copy themselves), other times we learn negatively (we avoid their mistakes).
Another way to “prepare the landscape” is to take pictures of the same background but at different angles. As a Roman I assure you that, for example, you would get a completely different effect to photograph St. Peter’s Square from a right angle with respect to the front of the colonnade compared to the classic central position.
The third way to prepare the landscape is to study its lines. For example, if you find yourself photographing a beach, you won’t have to think about it for too long; it will be the same orography of the coast to show you how to position the machine and how to position yourself to get the best shot of that glimpse of sea and land that meet. Let yourself be guided by nature. She knows better than us how to be photographed.
2) USE TRIPOD
In a photography blog it seems anachronistic to have to invite enthusiasts and professionals to always use the tripod, where possible.
The obvious goal is to thus cancel even the slightest vibration that could then affect the focus of your photo. Since the tripod is fixed on the ground, these vibrations should be “almost” nil.
I deliberately used the word “almost” because despite the use of the tripod there may still be some mini vibrations that can damage the focus of your shot, vibrations due to the movement of your hand when pressing on the shutter.
To cancel even these mini vibrations, the suggestion is to use wired or wireless remote shutter activation systems or, if you really don’t have them, you can use the self-timer at the limit.
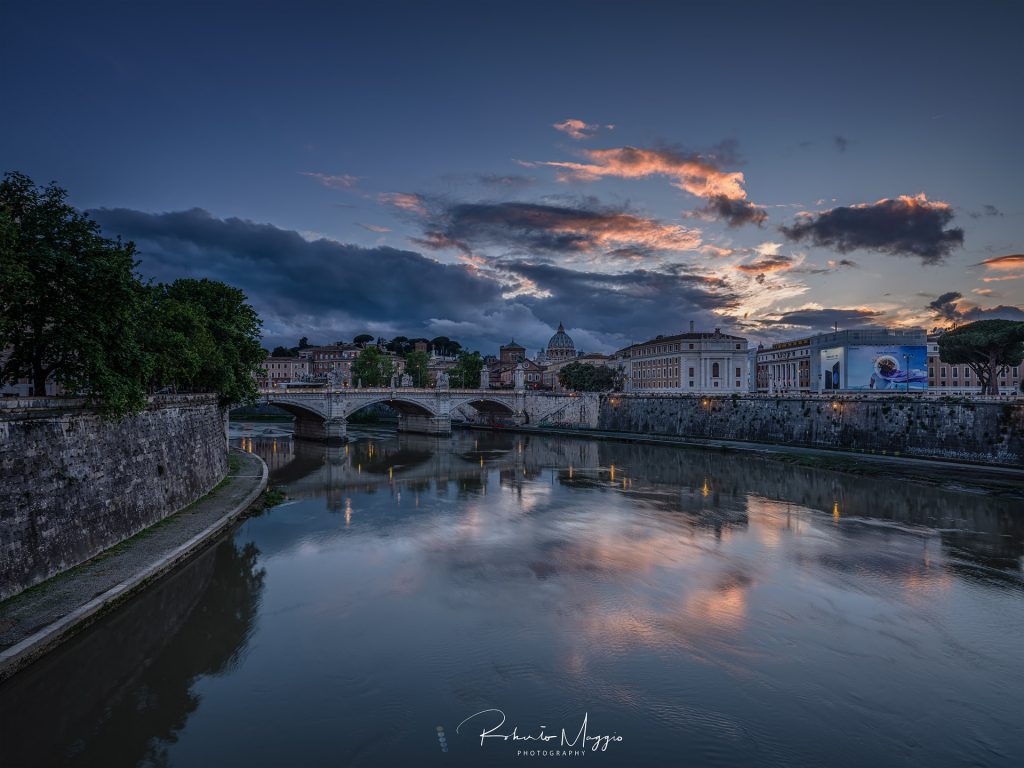
3) SUNRISE AND SUNSET
Sunset and sunshine say the Americans. Yes, sunrise and sunset are undoubtedly the best times of the day to photograph landscapes, and they are for two particular reasons:
a) The colors. At sunrise and sunset, the classic yellow of sunlight is dipped in notes of red and orange which, then standing out on the colors of nature (green and brown) or on those of a city (gray and white), tend to create effects colors that, I guarantee you, will enrich the graphic effect of your shot
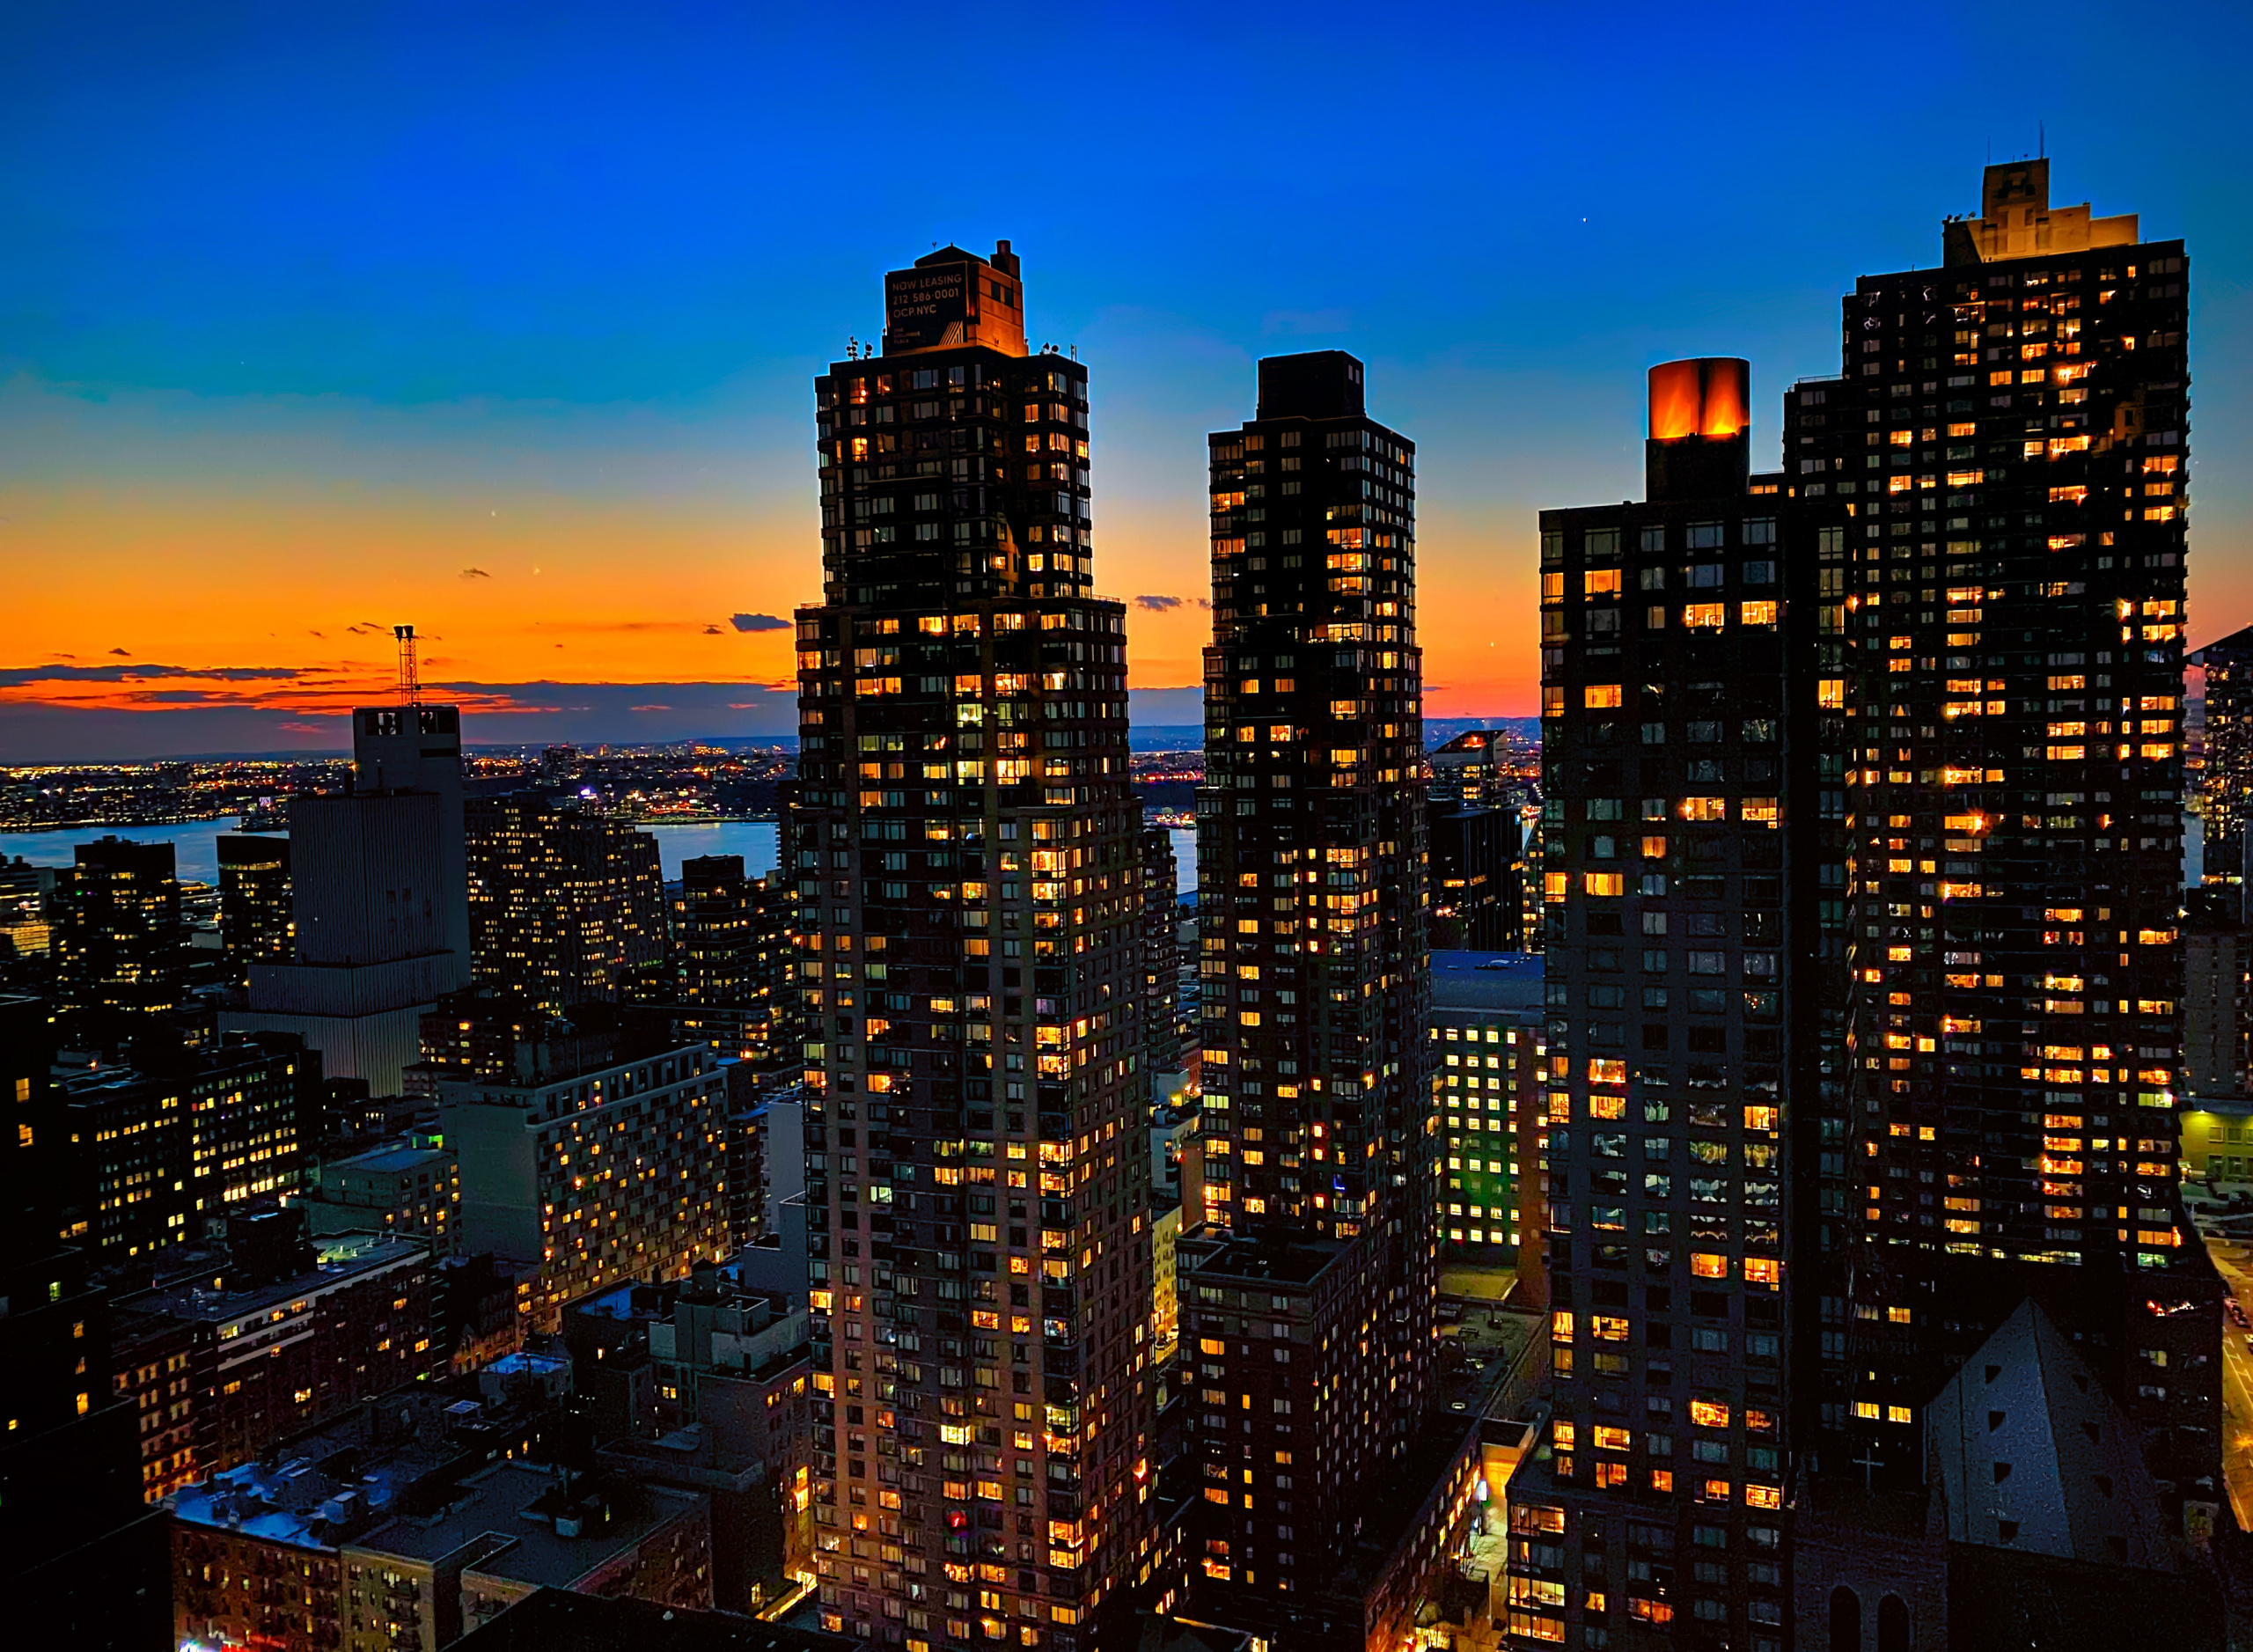
b) At sunrise and sunset, the light is diffused more evenly. Fewer angles saturated with light and correct lighting for all components, natural or artificial of your shot, of your landscape.