Intro to Vertorama
You will certainly know the word Panorama, you will find it in the vocabularies and most likely you will have already experienced this photographic technique and therefore I am not going to dwell on the subject here.
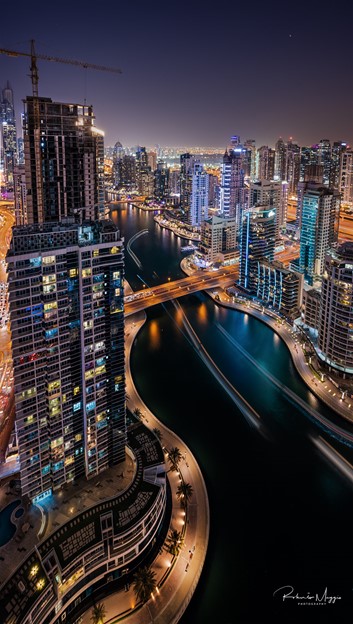
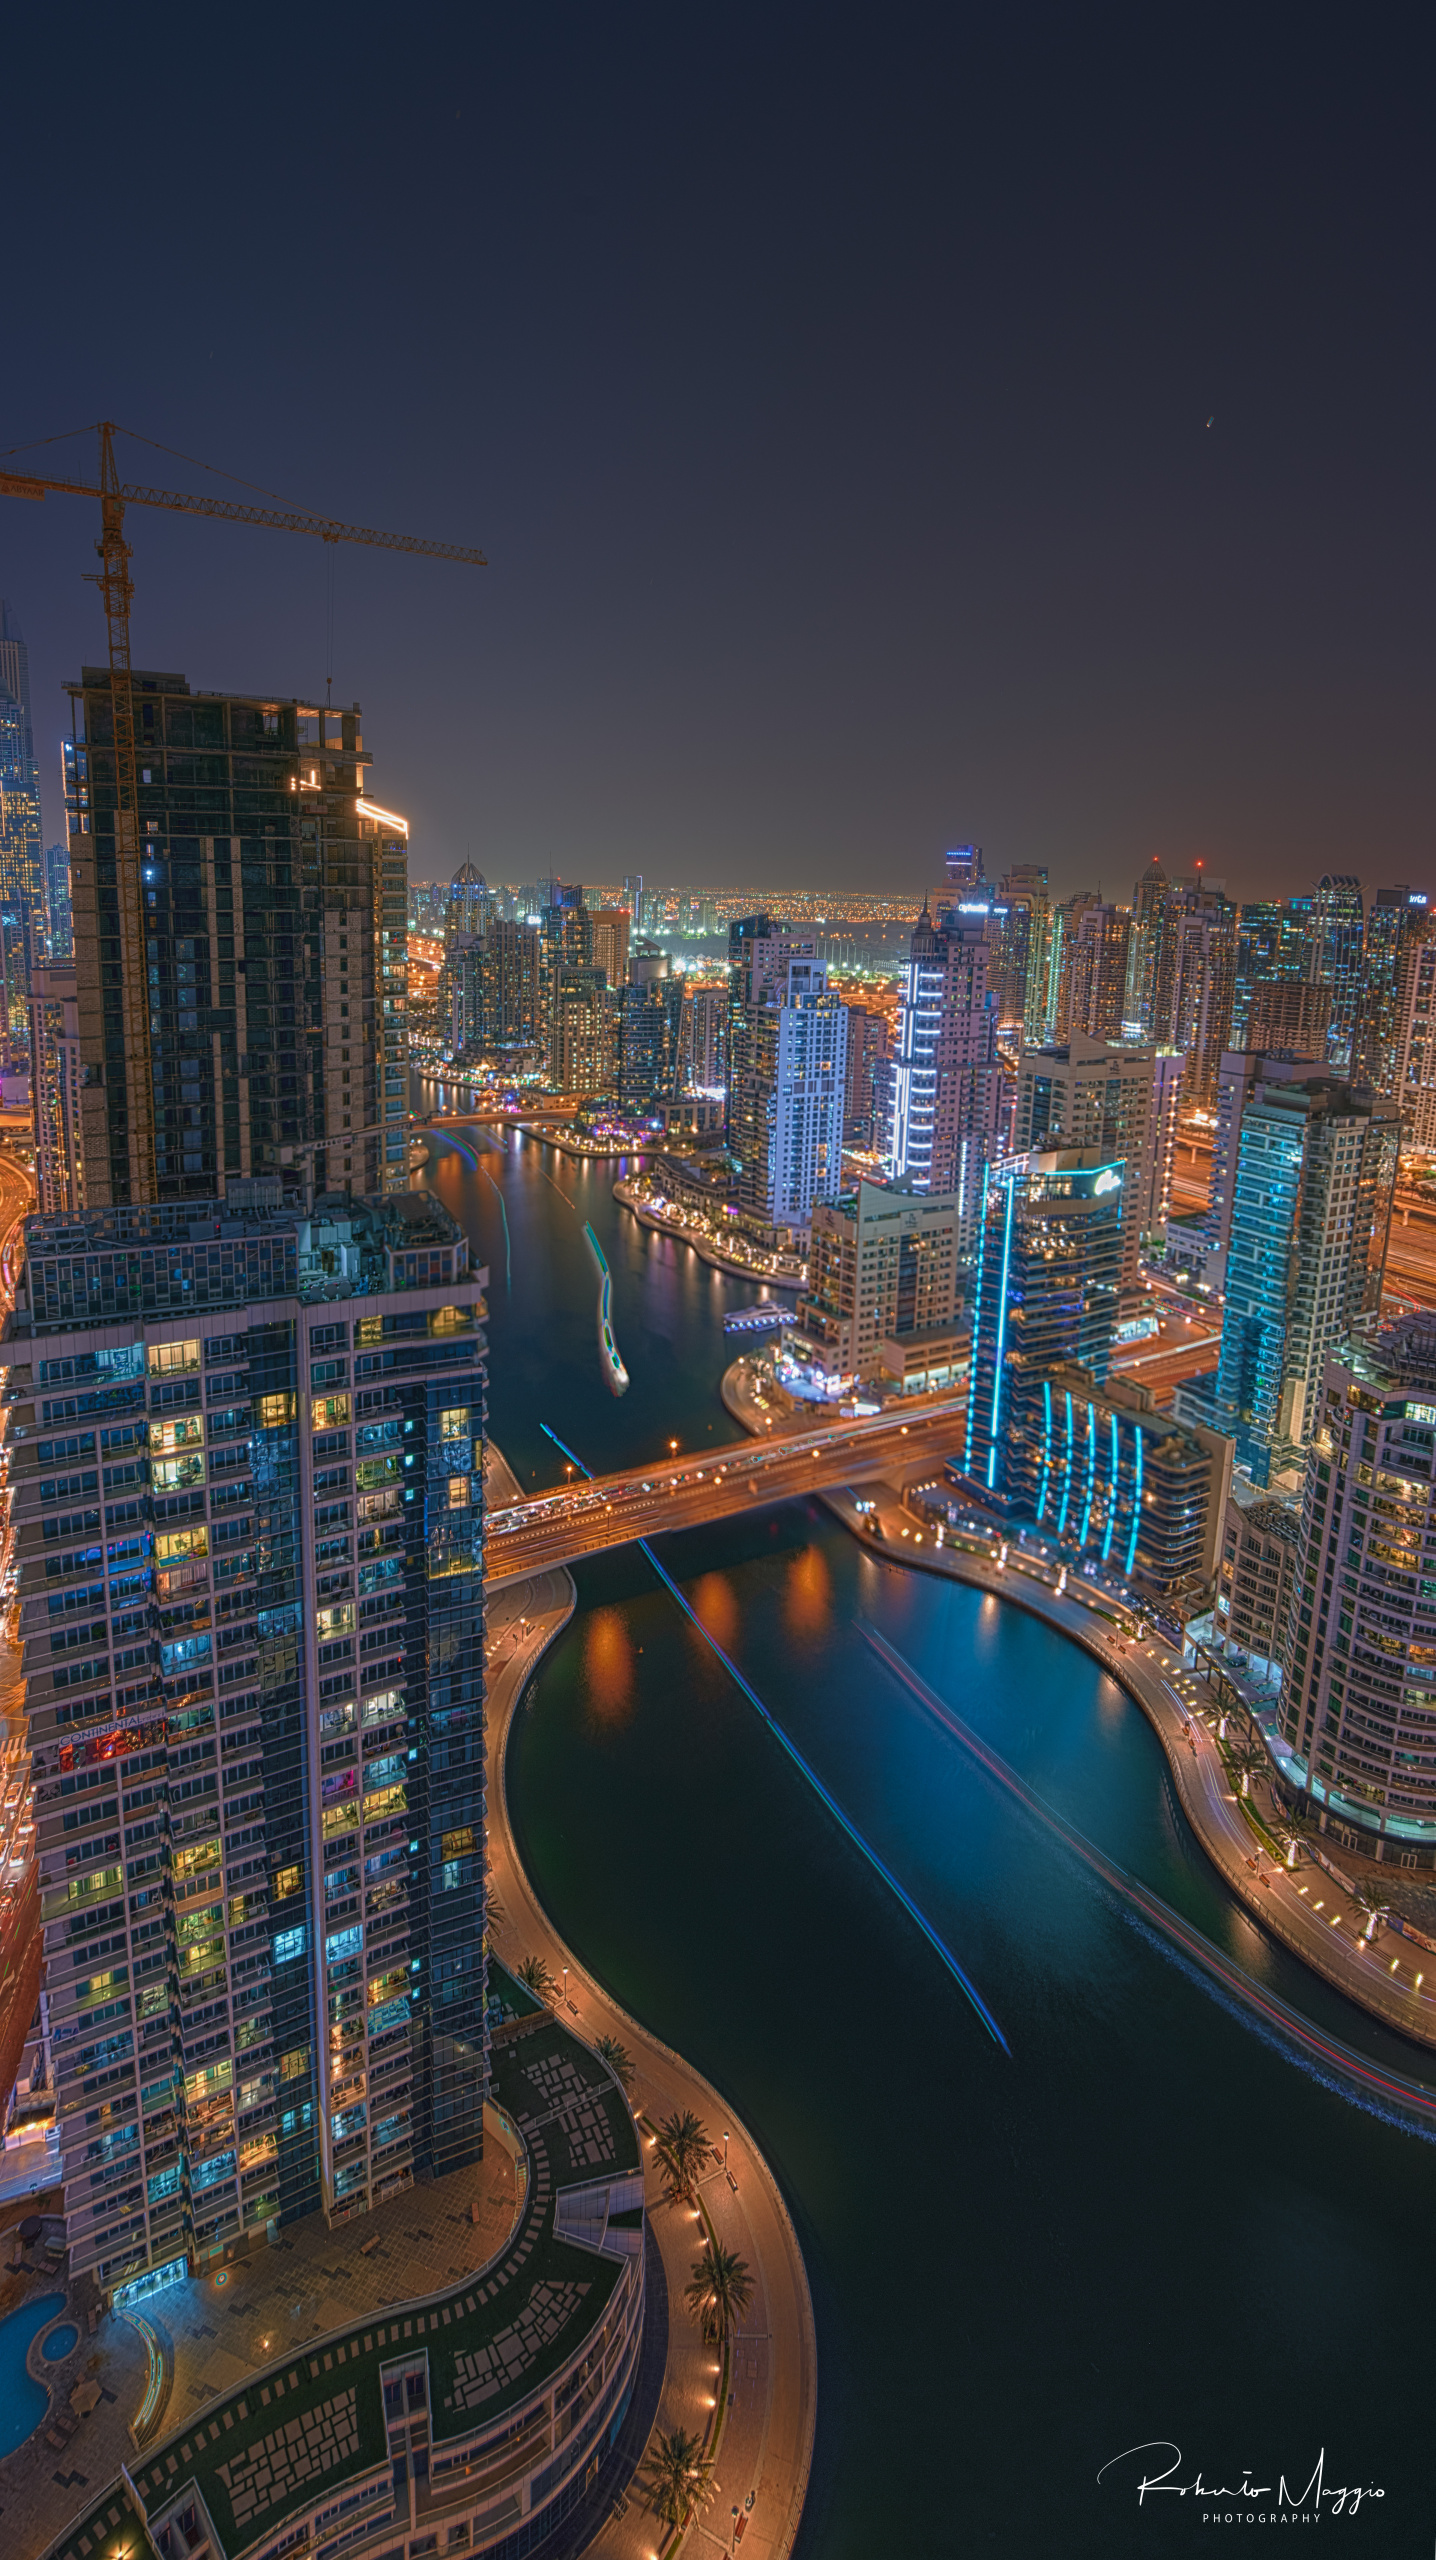
Vertorama, on the other hand, is an invented term deriving from the union of the words “Vertical” and “Panorama” and always indicates a panorama but, instead of shooting it horizontally, it is done vertically, creating original and effective images.
In this article I will show you a technique for creating photos that you will surely not find around, spectacular photos with a considerable visual impact. This technique is called “HDR Vertorama”. If you are looking for a way to create something original with your photography, this is the right way.
What is Vertorama
While in panoramic photography you take a series of photos by moving the camera in a horizontal direction and making sure that the adjacent photos have sufficient overlap, in the vertorama the photos are taken vertically.It would seem trivial but if applied to interiors or architectural photos this photograph can turn out to be fantastic, you will feel like you are in it.
Why HDR?
Photographing such a wide angle of view presents some challenges. One of these is the wide dynamic range of the scenes.
When you scan an interior (a church, for example) from bottom to top, you will see very dark areas and extremely bright parts (such as windows). To capture the scene in a realistic way, combining the Vertorama technique with HDR (High Dynamic Range) photography is a natural choice.
HDR will allow you to best represent details in lights and shadows, despite the high dynamic range.
Vertorama and HDR photography are combined in such a way that each section of the final image is made up of a series of exposures, taken at a different angle of inclination.
Each of these exposure series is merged into an HDR image and the tone mapped into an HDR image.
The images obtained from the HDR fusion are then merged to produce a Vertorama.
Well, now that we’ve seen the theory, let’s move on to some practice …
The camera
The range of cameras that can be used for this technique is wide. Any DSLR and mirrorless camera will do. Having a camera that allows you to change lenses is an advantage and I’ll explain why in the next paragraph. The target
To take this type of shots you should use a wide angle but I want to reveal a secret … For Vertorama photos (but also for panoramas) I use a particular lens, the TILT & SHIFT, you have surely heard of it.
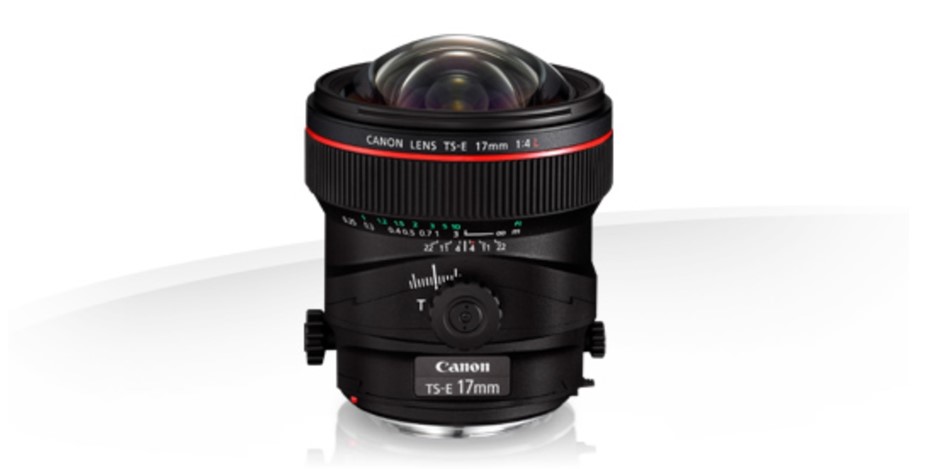
A lens dedicated to architectural and interior photography that at first glance may seem a very complicated thing but then, once you get the hang of it, it is really easy and fun to use and then eliminates the problems of falling lines. But for the use of this particular lens, I refer you to the tutorial dedicated to this lens that you can find here.
Nodal point
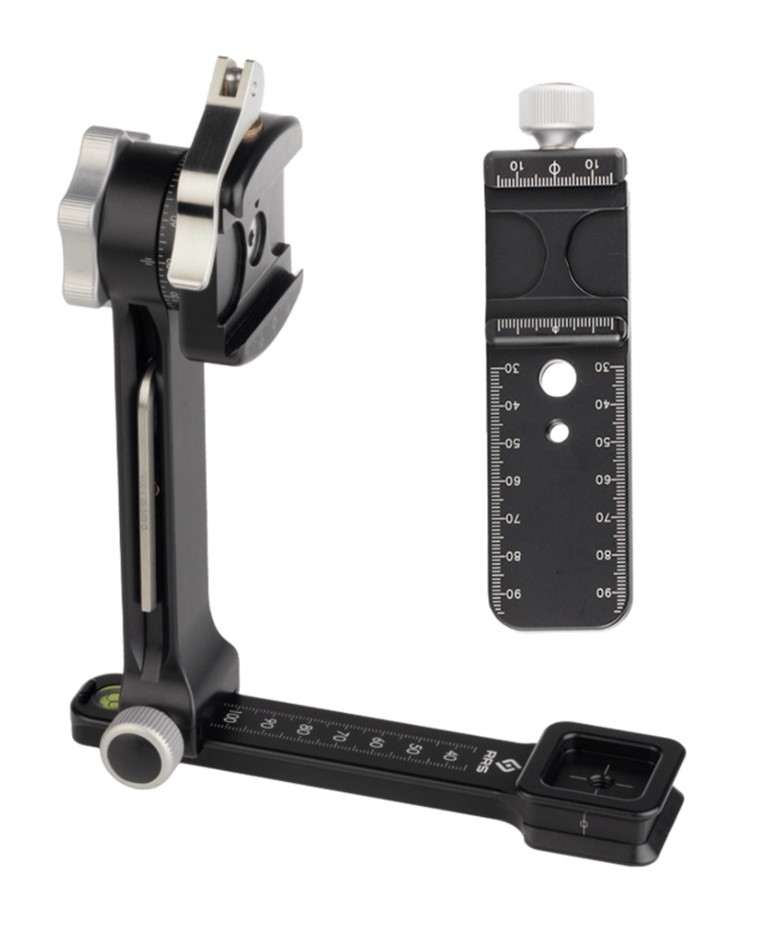
If you do not use Tilt & Shift and instead prefer to use a wide angle, you should use a panoramic head with a nodal point which is a device that screws onto the top of the tripod and allows you to rotate the camera / lens combination around the nodal point of the lens itself. This avoids so-called parallax errors.
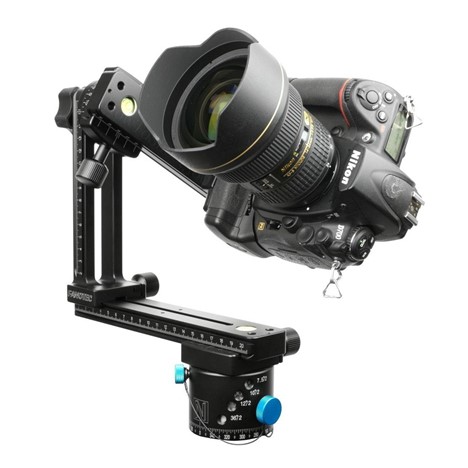
Before you can produce usable source photos with an adapter like this, you need to adjust it so that the camera is truly rotated around the nodal point.
Camera setup
To prepare for the actual shooting, mount the camera on the nodal point adapter and the adapter on the tripod. Set the adapter for the nodal point and the tripod so that the camera can rotate around the horizontal axis.
To set up your camera, do the following:
• Aperture: set your camera to aperture priority mode (“A” for Nikon, “Av” for Canon, for Fujifilm GFX, set the shutter speed dial to A and set C on the lens if you intend to use the front dial to vary the aperture. aperture, or choose the aperture directly from the lens ring) and set an aperture that focuses more or less the entire scene – f / 8 is usually good for all situations
• Focus: Focus the camera and then put it in manual focus mode to avoid focus changes between exposures. I recommend using focus peak if your camera allows it.
• White Balance (optional): Sets the white balance to a fixed value depending on the type of light in the location. If you are shooting in Raw format, you can also skip this step
• Mirror lockup (optional, DSLR only): Activates mirror lockup to reduce camera shake caused by mirror slap
• Trigger: connect a release cable (remote trigger) to release the shutter without touching the camera or, if your camera allows it, use the dedicated app.
• Cover the viewfinder (for slow shutter speeds): cover the viewfinder to prevent light from entering and falling on the camera sensor during exposure
Exposure
I recommend that you use your camera’s automatic exposure bracketing (AEB) function to shoot series of exposures for your HDR process.
Your goal is to set up the camera for a series of exposures that remain the same for each section of the Vertorama. You can choose 3,4,7,9 shots for each photo and choose how many stops to increase or decrease the exposure (1/3, 1/2, 1, etc.)
To do this, put your camera in aperture priority mode, set the correct aperture and shoot the scene from bottom to top by rotating the camera. As you do this, your camera adjusts the shutter speed to get the correct exposure of the part of the scene it currently sees.
Take note of the shutter speed range you see in the viewfinder (maximum and minimum).
To set the correct exposure, put your camera in manual mode, dial the respective aperture again and set the shutter speed to a value that is somewhere between the fastest and slowest speeds you saw when scanning .
Now, set your AEB function to go above and below that shutter speed as much as possible.
For example, if you have a time between 1 / 20s and 1 / 640s, the right shutter speed will be around 1 / 125s.
Configure the braketing to make 3 exposures with + _2 EV. This way you will have three photos with three different exposures, one at 1 / 30s, one at 1 / 125s and one at 1 / 500s. Remember that this must be done for each shot of your panorama
How to shoot
When you have finished taking the first set of photos of your panorama, rotate the camera to the next section making sure that the overlap with the previous session is at least 30%.
Now you’re done shooting so let’s move on to post-production
Post production
The post production process is carried out in several stages. You will surely have shot in RAW format and therefore you will need to process the files with Adobe Camera Raw first.
If you have raised the ISO you should also consider that you may need noise reduction software.
I use Imagenomic, very simple to use, fast and the result is guaranteed. Otherwise there are many other noise reduction software, if you use Nik Collection you can find one there too.
Creating Vertorama
Once the development of the source RAW files is finished, we move on to the so-called merging and sticthing (literally merging and stitching). Note that the source files must be combined in two different ways:
The bracketed photos of each series must be merged into one HDR image
The files thus obtained must then be stitched to generate the final Vertorama HDR.
In relation to the type of software you use, the order of these steps may be different. Normally I first do the HDR merge and then move on to the stitching. This is usually the easiest way
To create HDR files you can use the Photoshop function (File menu> automate> merge as HDR pro.
Choose the files to merge and click Ok. Another window will open where you can see the merged files, select 32 mbit as the method and check Complete Tones adjustments in Adobe Camera Raw then click on Tones in ACR. Once the files have been processed, ACR will open with the result of the merger and you can make the latest corrections to your photo
This procedure you will have to carry out on all the photos of your panorama.
When you have completed you will have an HDR image for each section and then you will need to merge them.
I prefer to use Photoshop to merge photos, with its Photomerge function that you can always find in the File menu> automate> photomerge choose the photos to merge, choose Cylindrical and click OK. The program will process your photos (this process can be slower or slower depending on the power of your PC). Done, now you have your view. Surely you will have to crop the image to refine the edges. You can possibly make some changes in ACR or in Photoshop if the result does not satisfy you.
